7 Tips for Filming in Low Light
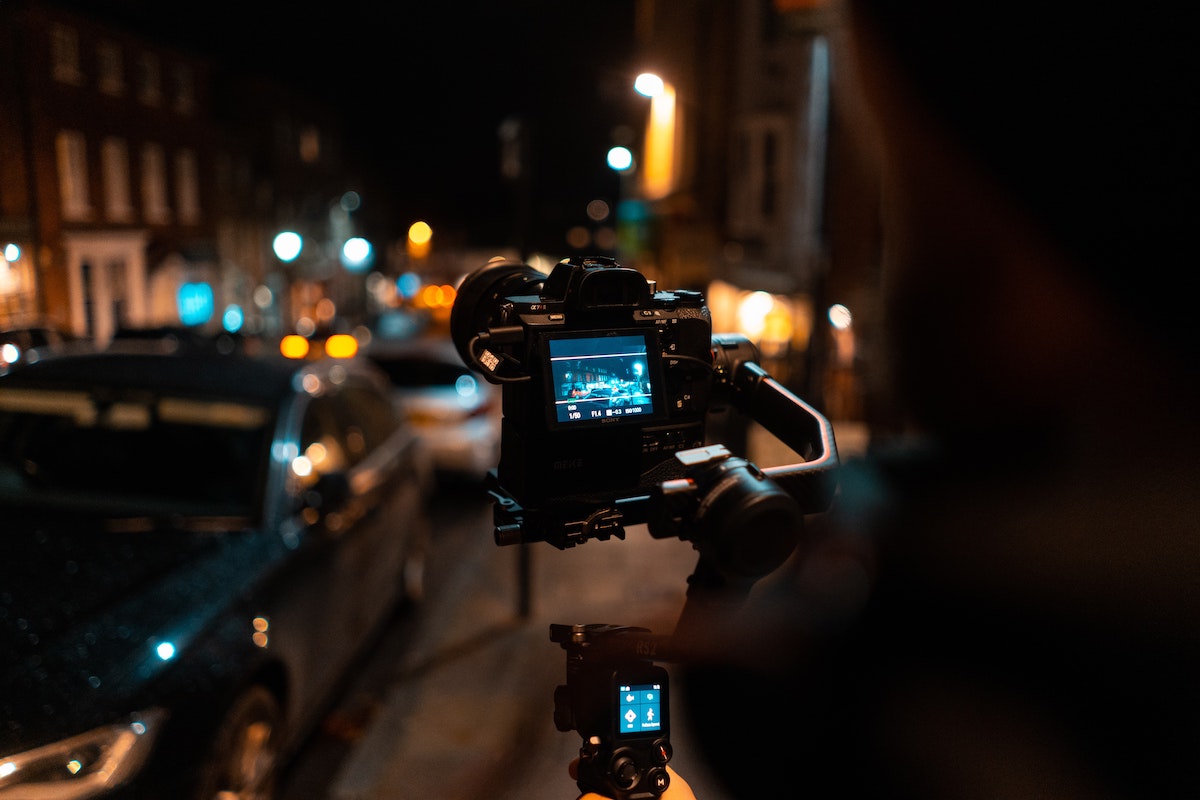
These low light video tips apply for cameras at every level. Including DSLRs, iPhones, GoPros... you name it!
Filming in low light, or at night, is one of the trickiest tasks for a documentary filmmaker. Why?
You typically won’t have any external lights to help you out!
Whether that’s because you’re reacting to a spur of the moment situation, filming on a low budget, or even just trying to be discrete!
In sum, lights are usually the last thing on a documentary filmmaker’s gear list. (Other than to shoot interviews).
But, many times, low light scenarios are unavoidable when filming your documentary.
So, how do you get the best quality low-lit footage out of just your camera?
Read these 7 tips for filming in low light.
Thanks to Joris Hermans for the helpful videos!
Tip #1 - Filming In Low Light:
Know your camera
The number 1 tip for every kind of scenario is KNOW YOUR CAMERA!
Specifically, know how well your camera shoots video at a higher ISO. This varies camera to camera!
What is ISO?
The ISO of your camera is the setting that controls how much light your sensor can “see.” A higher ISO tells your camera to gather more light from the scene, and will therefore make your video appear brighter. A lower ISO, on the other hand, will limit the amount of light seen by your camera, producing darker feedback.
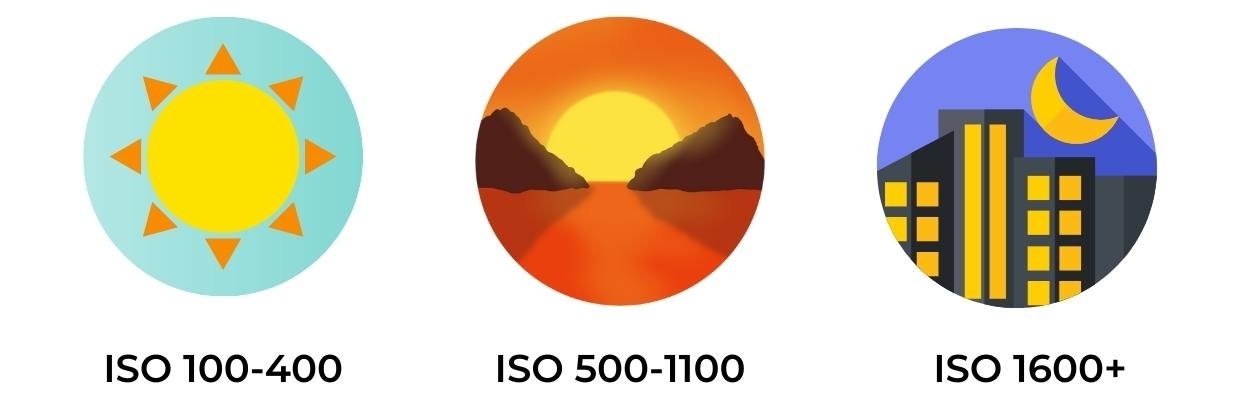
Because ISO controls your camera’s sensitivity to light, ISO is usually the biggest factor in determining the quality of the footage you can shoot in low light scenarios.
How your camera adjusts to a higher ISO is something you can only learn by testing it out.
Some cameras, like the Sony A7S, are built with strong light sensors. Other cameras will produce a lot of noise or a grainy image when cranked up to higher ISO levels.
Now, noise is not always bad or ugly.
Some noise is to be expected of low light scenarios.
Zoom in on your shot to identify where the noise is ocurring. Is it noisy in some areas of the shot or noisy all over?
Generally, if the image is noisy all over, try a lower ISO… but be sure to consider the following tip:
Tip #2 - Filming In Low Light:
The right exposure comes first!
Do not underexpose with a lower ISO in order to completely avoid grain or noise.
If you get the right exposure for your scene at ISO 800, prioritize that ISO.
As mentioned earlier, some noise is normal when filming in low light scenarios.
It’s better to have well-exposed footage than grain-free, dark footage. Trying to fix dark footage shot in low light can end up ruining the footage in post.
Tip #3 - Filming In Low Light:
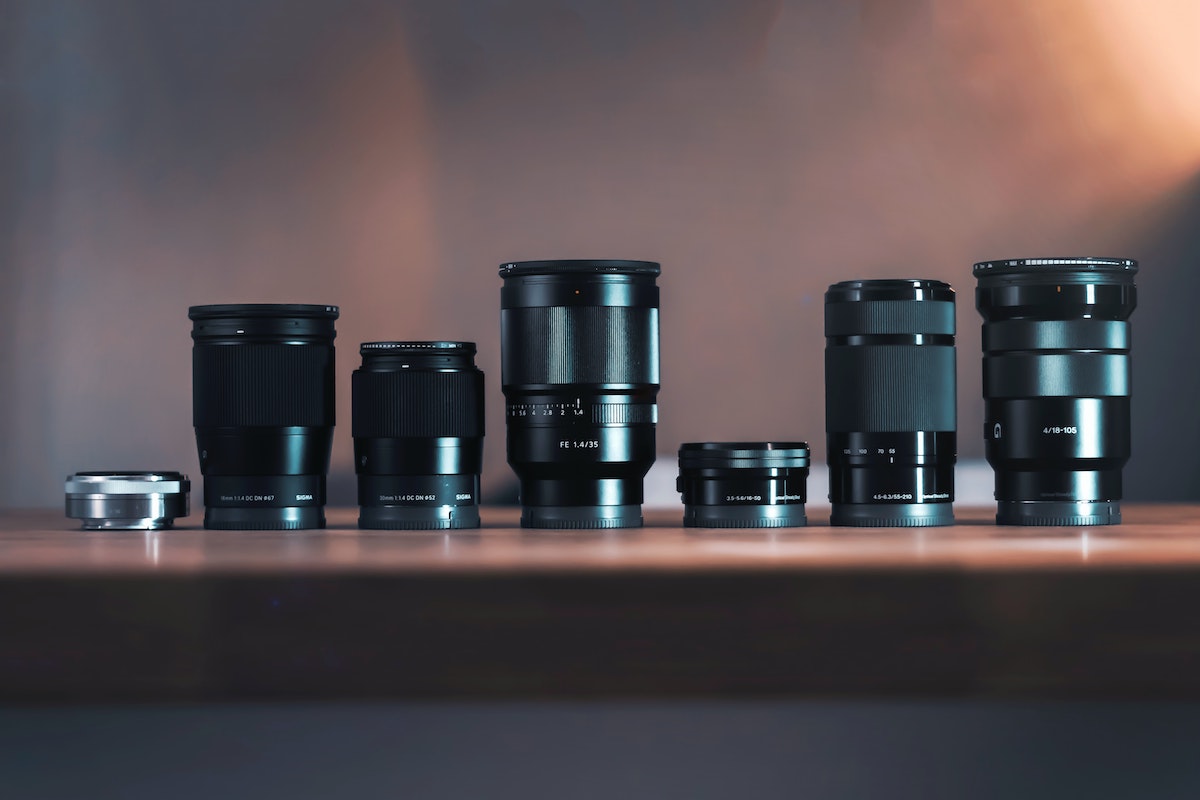
Use the fastest lens you have
Simply put, “fast” lenses are lenses with wider apertures (f 2.4 or lower).
The aperture, similar to ISO, controls the amount of light that your camera can see.
Whereas the ISO deals with the light sensor, the aperture controls the lens. In other words, the lens has to first be able to let the light in before the sensor can see it.
So, opening up your aperture all the way will make it easier for your sensor to “see” all of the available light.
In turn, this will allow you to keep your ISO lower.
Learn about the different types of lenses.
Tip #4 - Filming In Low Light:
Don’t be afraid of the dark
It’s pretty common to see dynamic color ranges in films where there is absolutely nothing invisible and everything is illuminated - even things in the shadows! But, that’s not actually how real life is.
If there are dark areas in your frame, just let them be dark.
It’s not like we have night vision in the evening...so don’t be afraid to mimic what the human eye can see in low light.
Tip #5 - Filming In Low Light:
Add light wherever you can get it
Sometimes you get to a location and there isn’t a single source of light.
But, you might have an iPhone. Or a laptop computer. Those screens are light sources!
While filming his documentary The Force, Peter Nicks had to film inside cop cars at night. Without any external lighting equipment, Nicks saw an opportunity to fill the scene with light from a laptop.
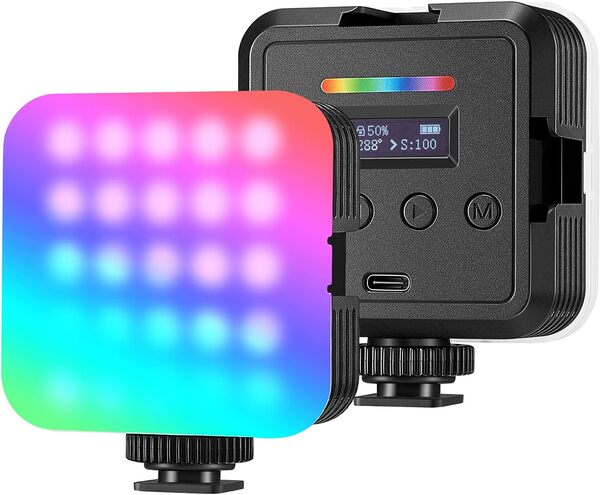
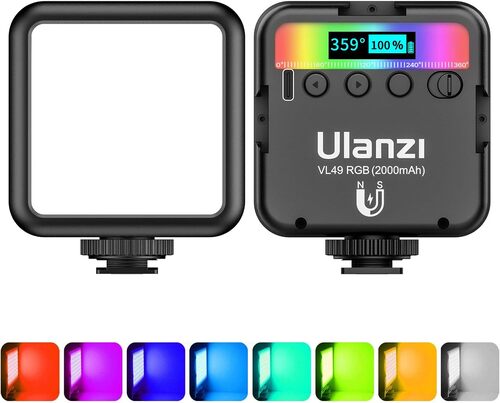
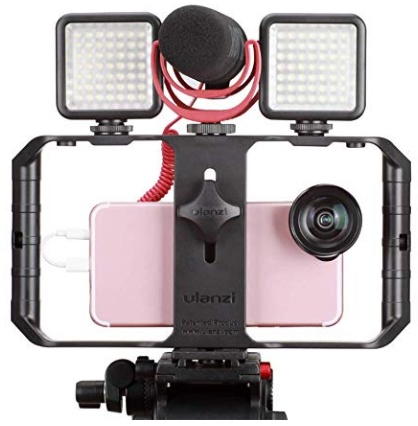
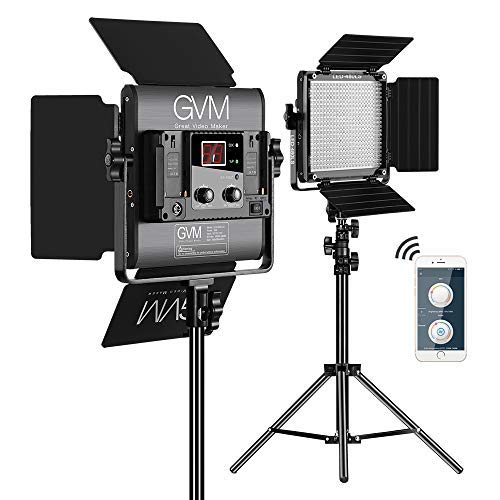
Another thing you can do is bring a small RBG light with you. These are small enough to fit in a camera backpack:
Portable Lights:
Tip #6 - Filming In Low Light:
Go standard
When filming in low light, set your camera up to film in a standard color profile like neutral. How? Check out your color profile settings which are usually available from the menu button of your camera.
If you can, also turn down the contrast and saturation in your camera’s color profile. This will tell your camera to film the colors of the scene as they naturally are.
While you're at it - turn down the sharpness!
When you shoot at a high ISO, you might automatically think, oh let’s crank up the sharpness…
But actually, that sharpness will affect every area of your shot. So, in addition to sharpening your subject, your footage will also feature extra sharp grain. Not ideal!
Tip #7 - Filming In Low Light:
Plan what you are going to film at night
It always helps to plan ahead, but especially when you're filming at night.
Learn how to create a documentary shot list.
You might even be able to brainstorm a few potential light sources ahead of time.
So... know your camera, prioritize the right ISO, and use your creativity to achieve great low-lit footage on any camera.
Good luck filming in low light!
Documentary Courses & Templates:
Ready To Make Your Dream Documentary?
Sign up for our exclusive 7-day crash course and learn step-by-step how to make a documentary from idea to completed movie!
