Lighting For Video
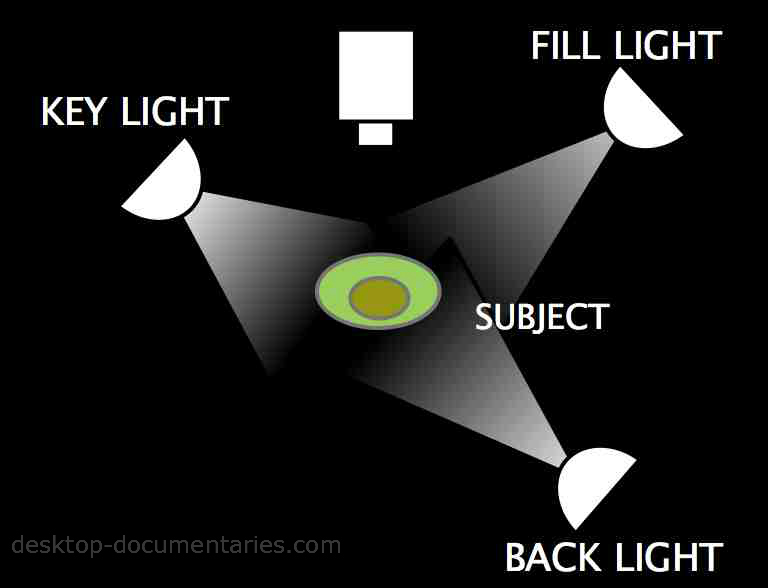
Three-point lighting diagram |
Simple techniques to dramatically improve your footage
Lighting for video and documentary doesn’t have to be complicated.
If you are a DIY filmmaker like me, you’re looking for: The least complicated lighting set-up that creates the best results at the lowest cost!
The Basics: Three-point Lighting
If you’ve ever visited a movie set, you know how complicated lighting can get. But it all starts here with the basic fundamentals of the 3-point lighting set-up.
- KEY – The key light is your main and strongest source of light. This can be the sun or an electrical light source.
- FILL – This is your second light source, softer than your key light, which crosses the key light to “fill” the strong shadows created by your main light source. This can be a reflector or an electric light.
- BACK – The back light is used to separate the subject from background. It makes the scene look more three-dimensional. Sometimes you can use the “setting sun” as your back light or another light source.
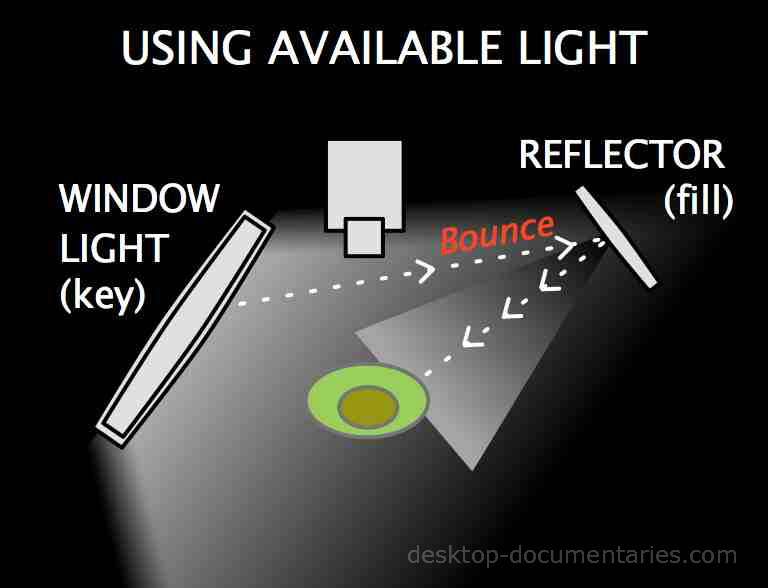
Lighting For Video | Using Available Light
Using available light is key for the documentary filmmaker on a budget or short on time. Sunlight coming through a window literally becomes your KEY light. See diagram below.
Using light from a window, position your subject about 30-degrees, not directly facing the window. A 30-degree angle creates a natural look and helps bring out some details in the facial features and creates a more natural look (shining a light directly on the face “flattens” the features).
Does the KEY light create too much contrast and shadow?
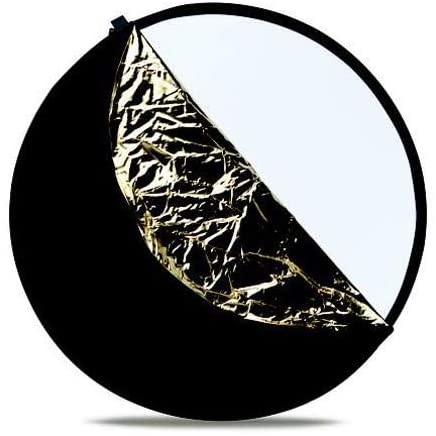
If so, use a “fill” light to balance out the “key” light. A fill light can be created simply with a reflecting device such as a piece of white foam board or reflector… it “bounces” light from the key source to create the “fill” light.
Filmmaking Resources
Lighting For Video | Ugly Overhead Lighting
When the natural light available is coming from overhead, like a hanging light bulb or fluorescent light, it can make the image look very flat (and ugly).
Try using a reflector in this situation to “bounce back” light into the subject’s eyes or another light source to fill in the shadows created by the overhead light.
Lighting Equipment
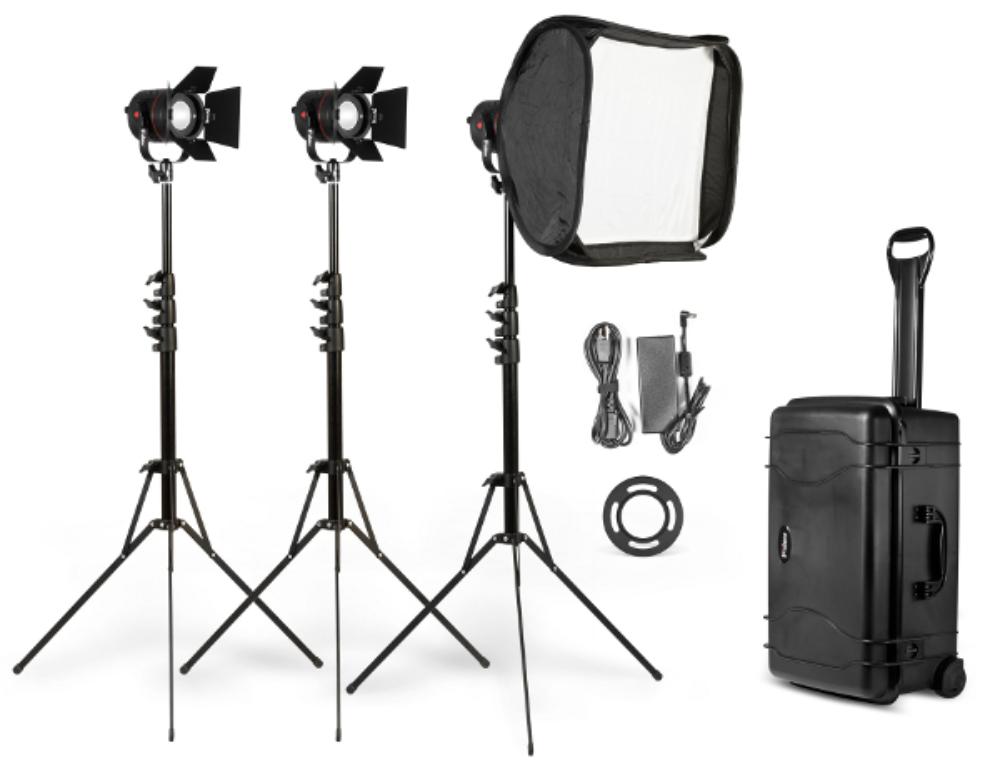
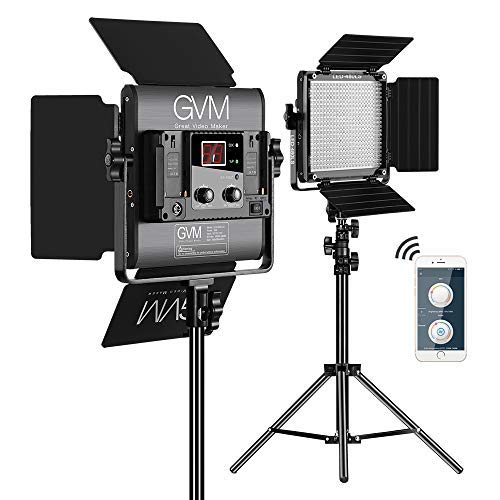
Basic 3-Point Lighting Kit:
Low-Cost Video Lighting Tips
Here are some additional low cost alternatives when lighting for video:
- Halogen garden lamps – great for flooding a room with light.
- A 100-Watt bulb under a large paper lampshade such as a China Lantern (see below) – creates nice soft lighting.
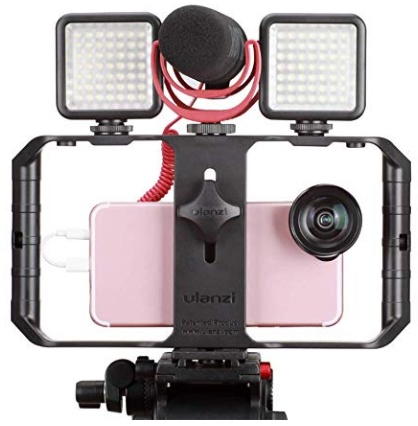
- Battery-powered lights. A cheap, battery powered light that sits on top of your camera is useful when there’s no electric sources nearby. However, a simple light on top of your camera does not create the best results (it’s just flat head-on lighting & not very natural looking). But it will do in a pinch and it’s better than nothing!
Low Cost Lighting: China Lanterns
Remember Safety!
Electric lights can be dangerous, especially tungsten lights which can get VERY hot. It is highly recommended to have a second person with your when dealing with lights. Lights are unstable and can easily fall or get pulled down.
- Place chords out of walking areas if possible or tape them down so that people won’t trip on them.
- Keep lights away from entrances where they can get knocked over by a door opening.
- Make sure there is nothing flammable around the light or you risk starting a fire.
- Let the lights cool down after they’ve been switched off. How many times have I been burned on those darn things!? Ouch!
Final Thoughts
When lighting for video and documentary, even a few simple lighting adjustments can make a huge difference.
Documentary Filmmaking Gear Check-List.
Documentary Courses
Ready To Make Your Dream Documentary?
Sign up for our exclusive 7-day crash course and learn step-by-step how to make a documentary from idea to completed movie!
Return Home from Lighting for Video

